Tips on Photo Upload to Associate with Assets
When taking photos, imagine wearing your “Heir Hat”; photograph items or groups of items, the way you or others would want to Select if it was Your Turn to Choose. Should be clear what is being chosen:

In FairSplit, think of 3 main types of photos, and a 4th that can be used:

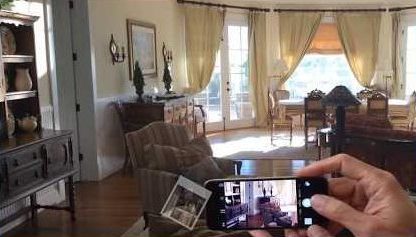
OVERVIEW PHOTOS
Wide view of each room from the doorway to show all items as positioned in that room. These provide a reference photo for family and yourself if needed.


PRIMARY PHOTOS
This is the close-up of the item or matched or grouped items that will be a single listed choice. This photo is the one to use when clicking the photo and editing the file name for quickly listing assets.
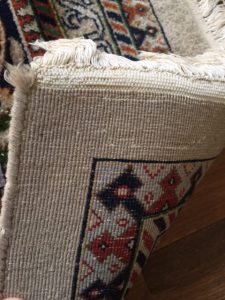
SECONDARY PHOTOS
These are when additional detail may be needed on an item for some reason, like a close up of brand, damage, an appraisal of the item, etc.
A 4th, less often used photo is a photo where the same photo will be used for many items in it. Examples may be a shot in the garage that includes digging tools, several rakes, and two ladders. One may use the same photo to list all of those as separate assets by listing the assets on the grid view, then associating the same photo with those assets. Do NOT Rename these photos when doing the List Photos to Assets.
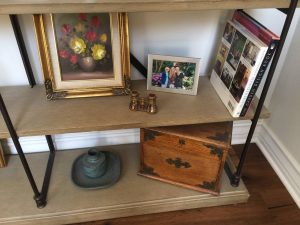
4TH – GROUP PHOTO
Single photo to be used for several items to be listed separately. Items to be listed in the grid Add Asset, then after listing, click the eyeball icon and find the photo, Select and Associate with Asset for all items listed separately. Do NOT rename the shelf photo, as it would create it as an asset. If you do by mistake, delete that asset, the photo will remain in the room and you can redo it correctly.